How to set up Microsoft Office 365 backup and recovery policy?

Updated On - October 8, 2024
Summary: Are you concerned about your Microsoft 365 data safety? If yes, the blog will help you remove all your worries by suggesting a reliable way to protect your Office 365 precious data from unwanted situations. In addition, you will learn about Recoveryfix Backup for Microsoft 365 software to execute the process more conveniently.

Microsoft 365 is the leading cloud-productivity service provider known for its enhanced collaboration and boost efficiency. Although it provides advanced data security to its users, but having data backup offers additional safety. For this purpose, you can create a Microsoft Office 365 backup and recovery policy to make your data recoverable from disastrous situations.
However, setting up these facilities involves several technical steps, such as configuration of retention policies, version enabling, and managing recovery options, which seem difficult to users. But don’t worry; here you will get a detailed step-by-step guide to easily set up Microsoft 365 backup policy. Besides that, the upcoming section will help you identify the significant benefits of setting up these backup and recovery policies.
Let’s explore them to create a better understanding of the Office 365 backup policy.
What are the significant benefits I can avail of with the Microsoft 365 backup policy?
Configuring the Office 365 email backup policy offers significant benefits that users can take advantage of. Here is a list of those benefits.
- You can reduce the storage cost by setting up a backup policy.
- The backup policy is a robust shield for your data, protecting your data from a range of unwanted situations, such as accidental deletion, unauthorized access, or hardware/software failure.
- Even if a Microsoft 365 subscription does not renew for any reason, the backup policy ensures that your data remains accessible.
- It ensures a well-organized plan to maintain and regulate GDPR compliance.
- Offers complete restoration of your Office 365 data, which includes SharePoint, OneDrive, and Exchange Online.
How to set up Microsoft Office 365 backup and recovery policy?
To utilize Microsoft 365 backup for Exchange, SharePoint, or OneDrive, you need to create a new backup policy for each component. A backup policy empowers the admin to determine what Microsoft 365 data an organization needs to be protected. Here, you will find the detailed process for setting up a Microsoft 365 backup policy.
Part 1. Create a new backup policy
The first step is to create a new Microsoft 365 backup policy. Here’s how you can make it.
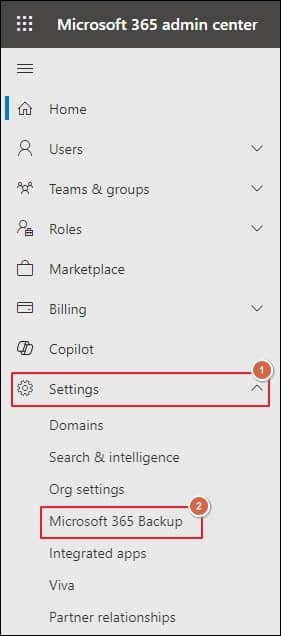
- Access the Microsoft 365 admin center, then select Microsoft 365 Backup option by expanding Settings.
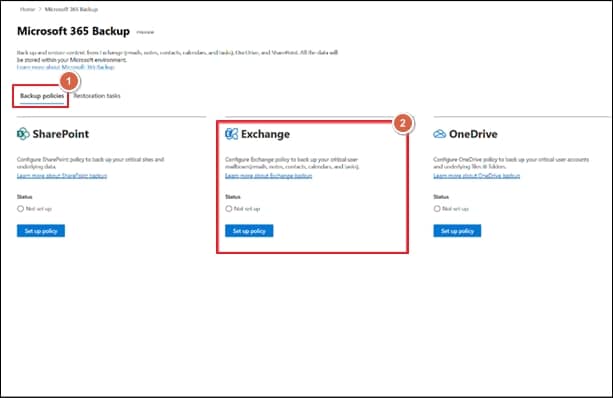
- Click on Set up policy option in the Exchange section.
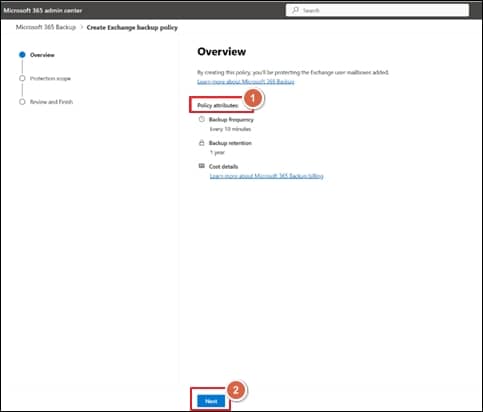
- Review and verify all the backup policy attributes for Exchange, such as backup frequency, backup retention, and cost details, before clicking Next.
- You will get three ways to Choose selection method:
- Upload a list of mailboxes in a CSV file: It allows you to upload a list of accounts to backup using a CSV file. You have the flexibility to upload a CSV file that contains up to 50,000 entries.
- Backup mailboxes that match specific filters: This enables you to select Distribution lists, security groups, or both. However, both are flattened while adding to the configuration policy, meaning that any changes in the groups or lists will not be updated in the original one.
- Select mailboxes individually: You can select the mailboxes you wish to add for a backup policy.
After selecting the appropriate option, proceed to Next.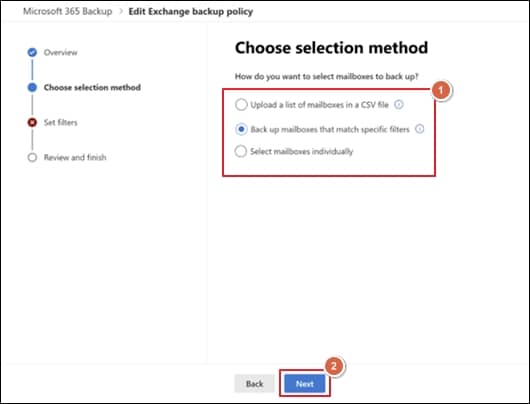
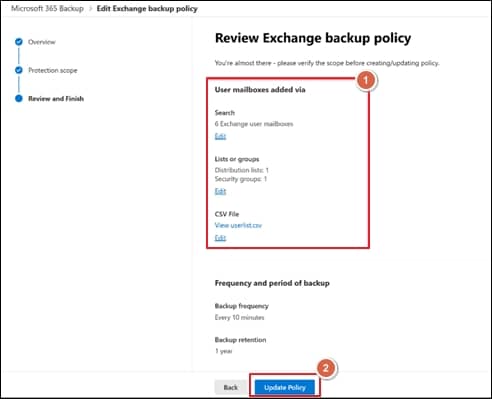
- Review the information under the Review Exchange backup policy window and click on Create policy (or Update Policy) option.
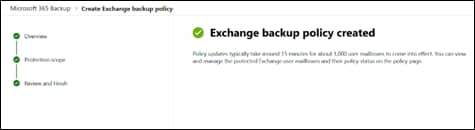
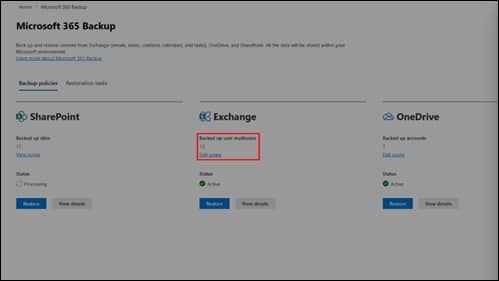
- After 15 to 60 minutes, an Active status will appear on the home screen, displaying that an Exchange backup policy has been created. You can select the View scope option to verify the policy details at any time.
Part 2. View and edit backup policy
Users can view and edit the scope of the backup policy of Exchange mailboxes, OneDrive accounts, and SharePoint sites after it is created. The changes include the addition or removal of mailboxes, new accounts, or sites. With the provided instructions, you can make the changes according to your requirements.
Note: Removal of accounts, sites, or mailboxes doesn’t delete the existing backups, it means further backup process will not be performed.
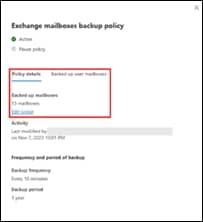
- Access the Microsoft 365 admin center, then go to Microsoft 365 Backup and click on the Edit scope option under the Exchange section.
- Go to Policy tab under the Exchange mailboxes backup policy, then tap on Edit scope.
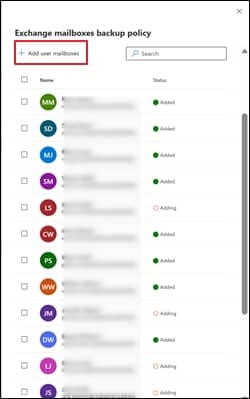
- Here, you can add new user’s mailboxes or remove the existing ones from the Exchange backup policy:
- Click on +Add users mailboxes to add new shared or user mailboxes.
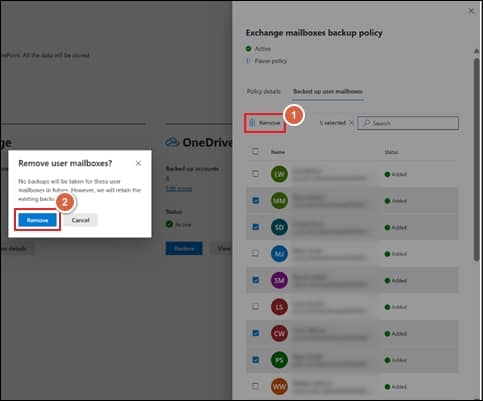
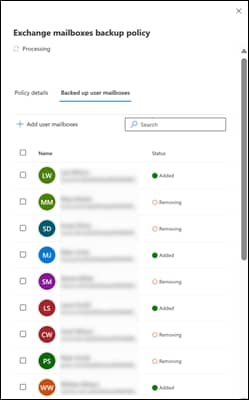
- Go to Backup users mailboxes tab, select the mailboxes from the available list, and click the Remove option to remove them.
- Click on +Add users mailboxes to add new shared or user mailboxes.
- Once all the changes are made, follow the instructions on-screen to update the policy.
Is there any alternative solution to ensure complete Office 365 data backup?
Enabling an email Office 365 backup policy helps you to provide better data retention and recovery options whenever you need them. But having the Microsoft 365 data backup on local storage will provide the best security against unwanted situations. On top of that, it offers users the ability to access your backed-up data anytime. For this, you can utilize native solutions to export Microsoft 365 mailboxes into PST format that is offered by Microsoft 365 itself.
However, performing a backup process via a native solution can be tedious and doesn’t provide complete control over the procedure. Hence, going with the automated tool will benefit users, as it is recommended by experts. Recoveryfix Backup for Microsoft 365 is one such automated approach that makes the backup process more convenient for users. Additionally, Microsoft 365 backup software’s advanced data filtering options provide complete control over the backup procedure to take precise backups of Microsoft 365 email data.
Closing notes
The blog has discussed a comprehensive guide on how to create a Microsoft 365 backup policy with illustrations. By going through the provided instructions, you will be able to set up the Office 365 email backup policy with ease. However, the backup of Microsoft 365 data into a local drive is the best security measure for additional data safety. For this purpose, you can opt for the recommended solution to execute the backup process seamlessly.