Import PST files to Thunderbird complete guide

Published On - July 5, 2024

Outlook stands out as a splendid email client among users due to its several advanced features. It serves businesses of every size, whether small or large, for their email management services. Moreover, it offers easy accessibility and shareability of its email components like emails, calendars, tasks, notes, etc., with the help of its PST format in Exchange Server and Office 365. But all these features come at a certain cost, driving users to search for a cost-effective alternative.
Thunderbird is one of the best email client alternatives for users. An open-source email client supported by multiple operating systems. To access your important emails in the Thunderbird application, you need to import them into it. Let’s explore the step-by-step process to import PST files to Thunderbird successfully.
How to import PST files to Thunderbird manually?
To import Outlook PST into Thunderbird, follow the provided instructions attentively.
Part 1. Configure Gmail account to Outlook
Firstly, you need to enable IMAP access in your Gmail account to configure it in Outlook application. To do so, adhere to the following steps carefully.
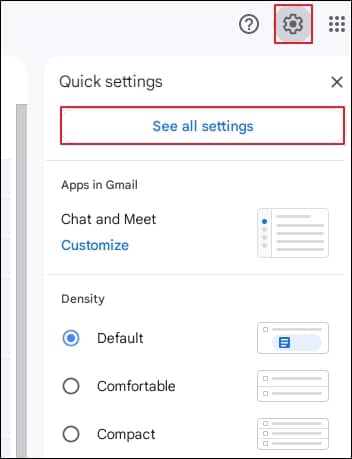
- Step 1. Launch any browser, log in with your Gmail account, then click on Settings icon and proceed to See all settings option.
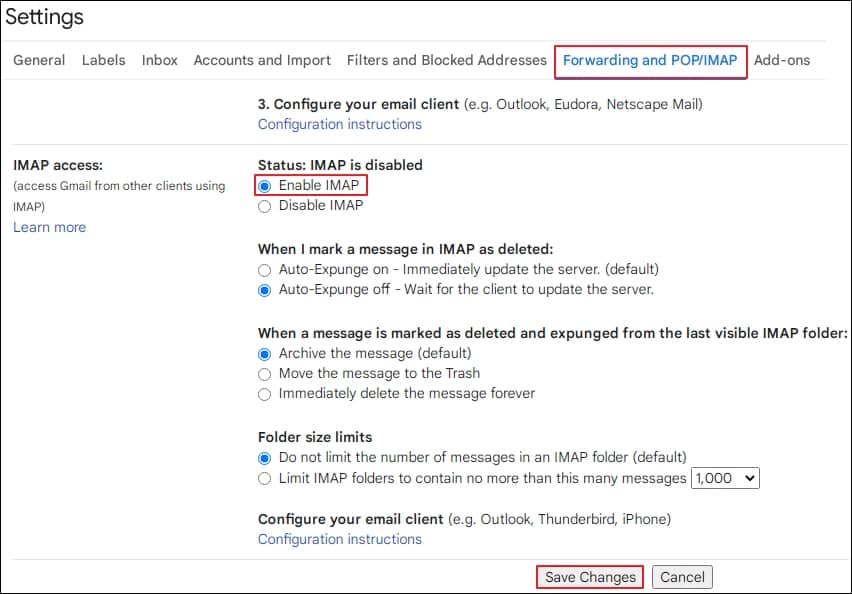
- Step 2. Navigate Forwarding and POP/IMAP tab under Settings, select Enable IMAP, then press Save Changes.
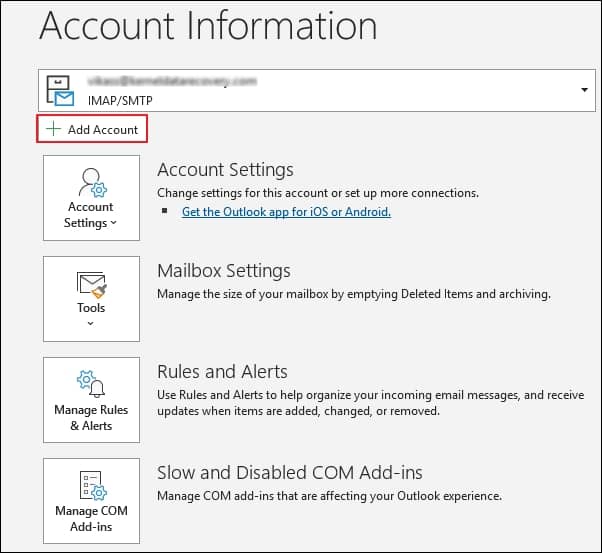
- Step 3. Now, launch the Outlook application, go to File tab, and click on Add Account option.
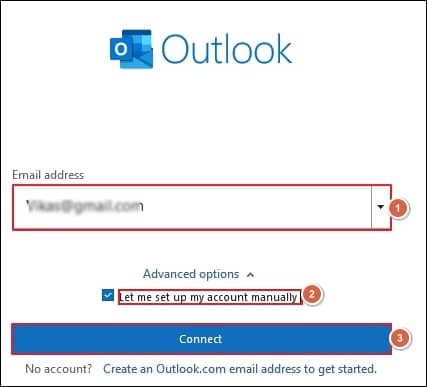
- Step 4. Enter your email address, select Let me set up my account manually, and proceed to Connect.
- Step 5. Tap on IMAP option and enter your account credentials and click on Connect option.
- Step 6. Your Gmail account has now been successfully configured in Outlook.
- Step 7. Now, create a new folder within the recently configured Gmail account in Outlook and move the emails that you wish to that folder.
Part 2. Utilize Google Takeout to get emails in MBOX format
Google provides a service known as Google Takeout, which allows users to export their mailbox data. To export your mailbox data through this service, follow the given steps meticulously.
- Step 1. Go to your browser where your Gmail account is logged in and visit takeout.google.com.
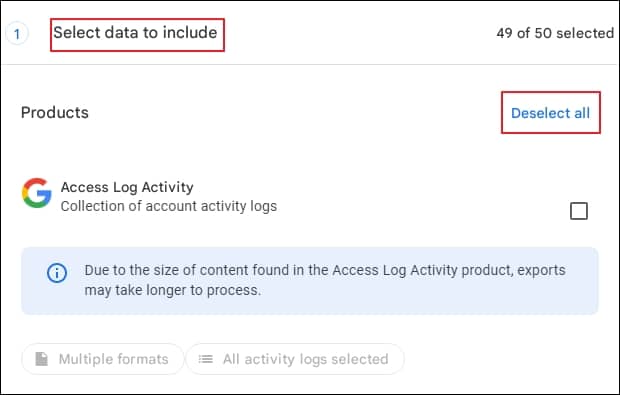
- Step 2. Under Select data to include, click on Deselect all option.
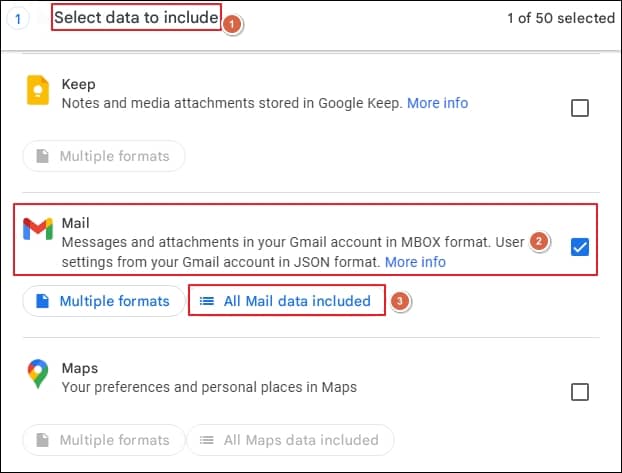
- Step 3. Check the Mail option only, then make sure that Include all messages in Mail option is selected under All Mail data included section and proceed to next step.
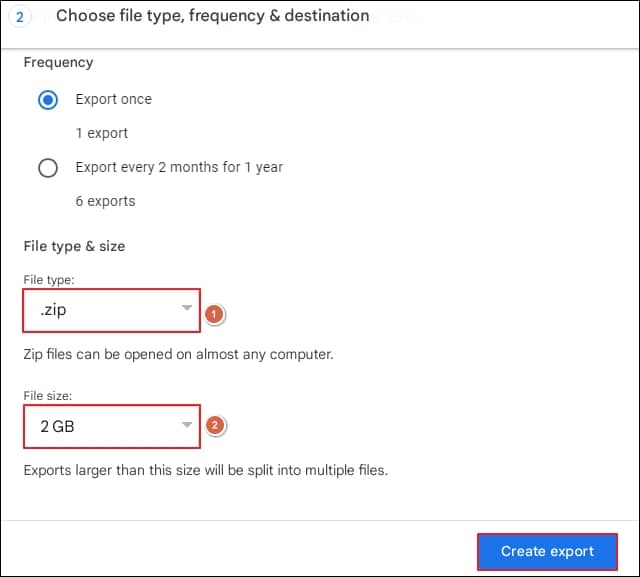
- Step 4. Choose Send download link via email option and set Frequency as Export once.

- Step 5. Select .zip as file type, then file size as per your suitability, and proceed to Create export.
- Step 6. The export process has been successfully completed, and you will get a download link on your Gmail account.
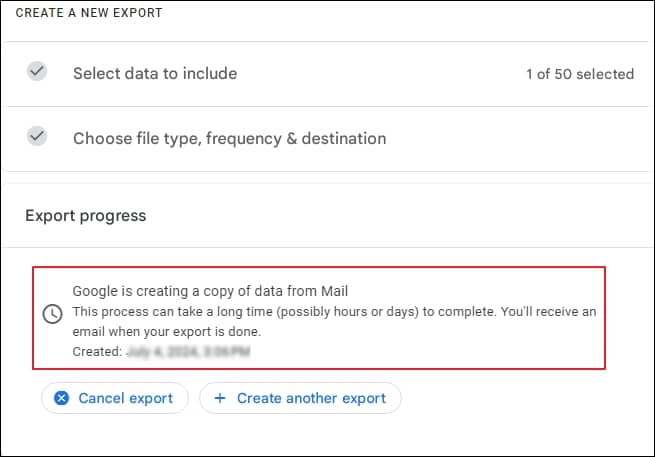
- Step 7. After that, download your file using the link you received on your Gmail account.

- Step 8. Now, extract the downloaded file on your system to get your mailbox data into MBOX format.
Part 3. Import previously exported MBOX files to Thunderbird application.
Thunderbird email client allows users to import or export files using the ImportExportToolsNG Add-on. To import your previously extracted MBOX files into Thunderbird, you must need to install this Add-on and follow the steps below.
- Step 1. Launch Thunderbird application and create a new folder to import your extracted files in it.
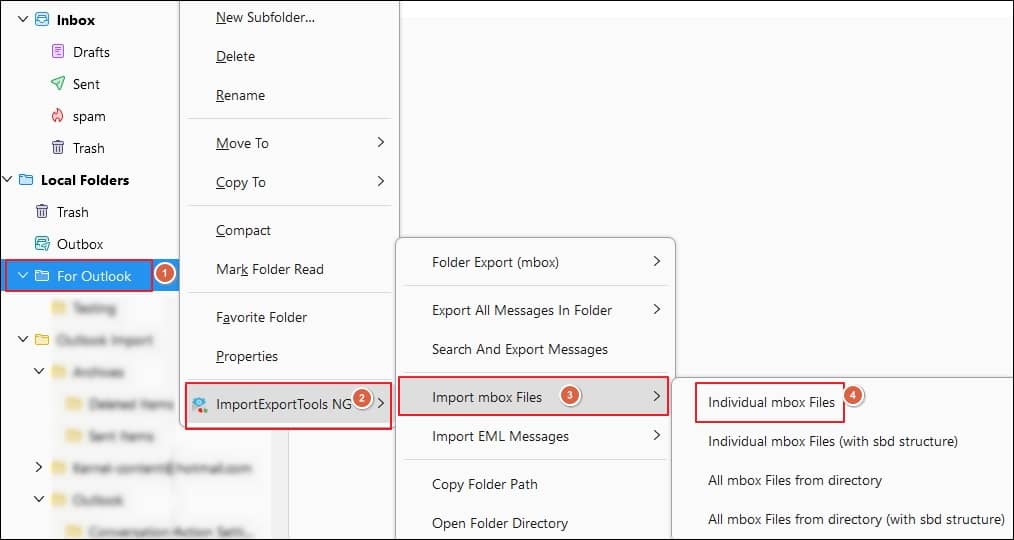
- Step 2. Right-click on the created folder, select ImportExportToolsNG option, click on Import mbox Files option, and proceed to Individual mbox Files.
- Step 3. Choose the MBOX file from your local directory and Open it.
- Step 4. You have successfully imported your MBOX files into the Thunderbird application.
- Not suitable for large-size mailbox data.
- It can’t be helpful in case of damaged or corrupted PST files.
- Chances of disruption of data structure and hierarchy exist.
- It is a lengthy and time-consuming process.
- Recover lost or accidentally deleted PST files.
- Its high-end algorithm helps to maintain the data hierarchy intact.
- Allows advanced data filtering options for selected data migration.
- Offers to preview your data before saving it into the desired format.
- Ability to split large PST files for better storage management.
Note: If you have multiple MBOX files, then select All mbox Files from directory option.
Also, you can archive Thunderbird emails for future purposes.,/p>
Limitations of manual solution
The earlier-mentioned solution can help you to import PST file to Thunderbird without Outlook application. But it has certain limitations, which are as follows:
Hence, utilizing an automated solution is the best approach to eliminate the above limitations and import PST in Thunderbird more efficiently.
An automated solution to import PST files to Thunderbird
Recoveryfix for Outlook PST Repair is one such tool that can easily handle the operation. It allows users to instantly repair corrupt or damaged PST files and convert them into different formats, helping them access these files in multiple email clients, including Thunderbird. Moreover, the tool also offers additional features such as:
Summing up
We have covered a manual solution for importing your PST files to Thunderbird. This solution is effective, but some constraints compel users to look for an efficient and time-saving alternative. In this regard, opting for the recommended automated solution is best suited for you. The solution allows you to convert multiple files simultaneously.