Quick guide to archive emails in Office 365 [100% working]

Updated On - August 23, 2024

Keeping older emails in the Office 365 mailbox is crucial for businesses to make them available for future requirements. However, this process occupies mailboxes, which causes storage issues for users. To tackle this issue, users seek ways to free up mailbox storage space while keeping their old emails secure.
Archiving mailbox emails is one of the best solutions to this problem, fulfilling both criteria required by users. The solution ensures you secure emails into a separate folder, making your mailbox more organized for better productivity and performance.
Here, we will discuss the whole process of archiving emails in Office 365, along with a step-by-step guide. By the end of this blog, you will be equipped with the knowledge and skills to carry out the entire process on your own. This sense of accomplishment will boost your confidence in managing your mailbox effectively.
But first, let’s delve into the significant benefits of the process in the upcoming section.
What are the significant benefits of archiving Office 365 emails?
Archiving Office 365 emails provides various benefits to users. But the most significant ones are as follows:
- Provides a search feature to find required emails instantly.
- Secures your old emails in a separate folder for future purposes.
- Assists in freeing up storage space of mailbox without losing any emails.
- Offers the same level of security to the Archive mailbox as the Primary mailbox.
- Helps to declutter emails from a mailbox and organize them more systematically.
- Ensures accessibility of your archived emails from any device and location via Outlook application.
How to archive emails in Office 365 manually?
After deep research, we have come up with a simple yet effective solution to archive your mailbox in Office 365. Go through each section of this method carefully to archive your mailboxes without any difficulties.
Part 1. Enable online archive feature in Office 365
Microsoft 365 provides an auto-archive feature that archives user mailboxes automatically. To enable this feature, follow the provided instructions meticulously.
- Go to Office.com and sign in with your Office 365 account credentials.
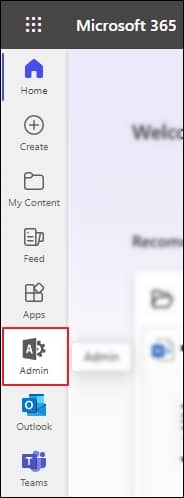
- Navigate and click on Admin from the left window.
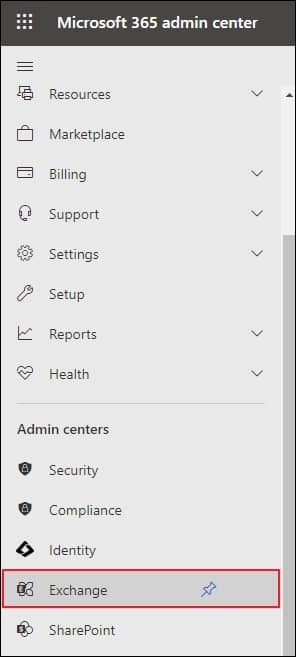
- Under Microsoft 365 admin center, scroll down to Admin centers in the left pane and tap on Exchange.
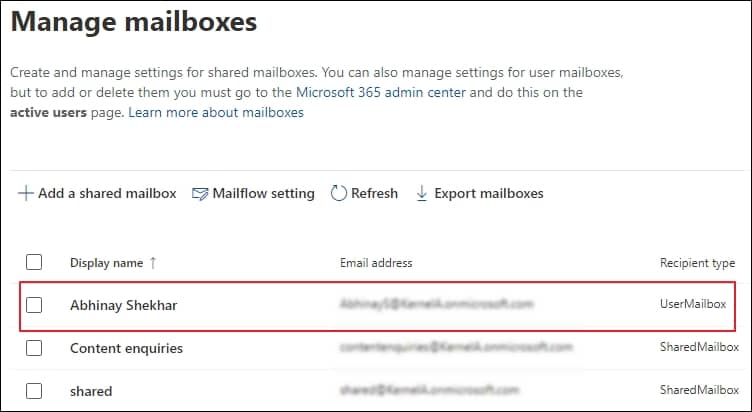
- Click on the user mailbox that you wish to archive option.
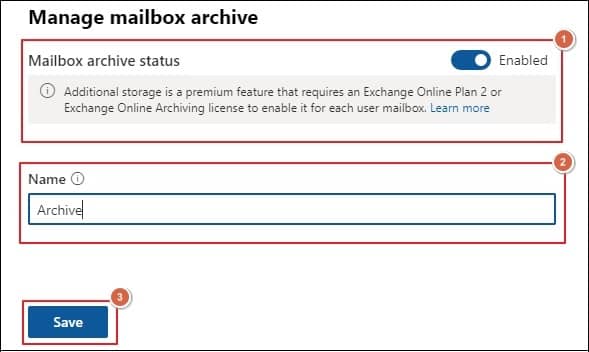
- Go to Others tab in the new wizard, then click on Manage mailbox archive option.
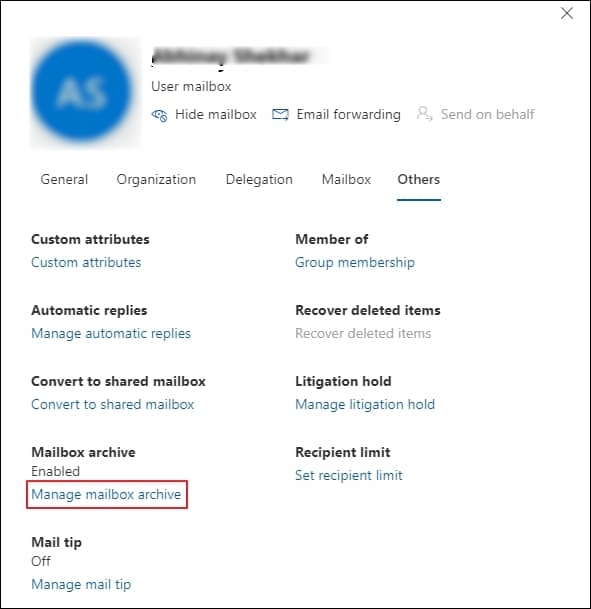
- Enable the Mailbox archive status, type the archive folder Name, and proceed to Save option.
- You have successfully enabled online archive feature in Office 365.
Note: Perform the above step in case you want to archive multiple user mailboxes.
Part 2. Create new Retention tag and policy
Once you have enabled the online archive feature, set a custom retention policy to archive the mailbox as per your convenience.
Creating Retention tag
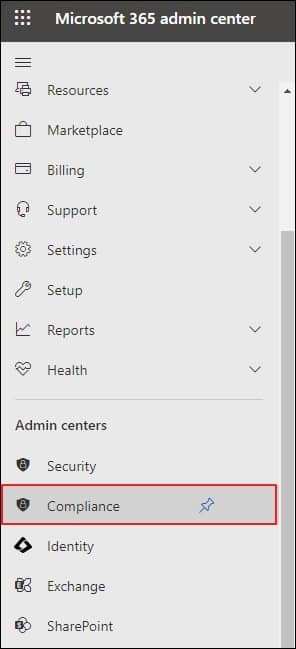
- In the left pane under Microsoft 365 admin center, go to Admin centers and click on Compliance.
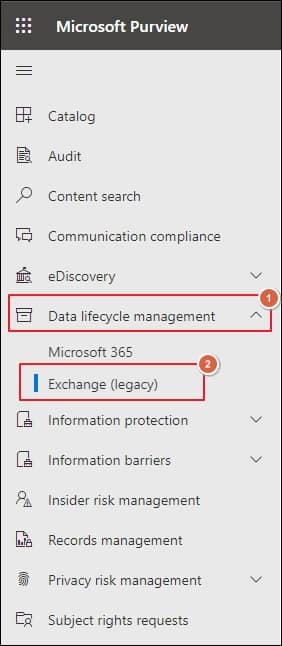
- Navigate and tap on Data lifecycle management, then proceed to Exchange (legacy).
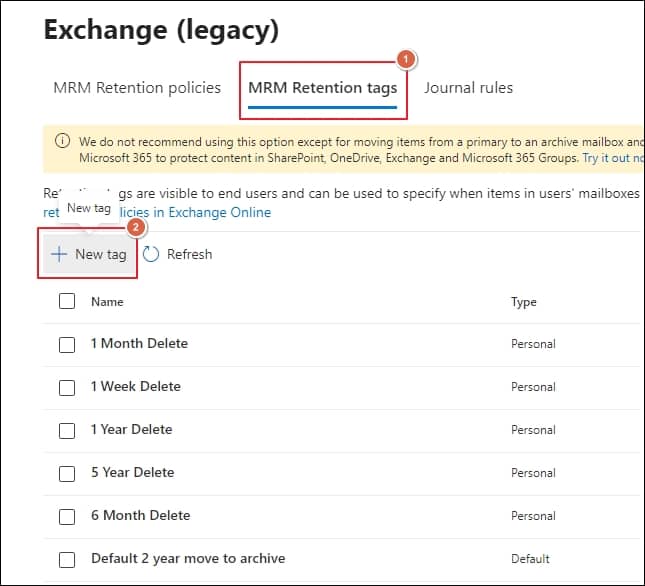
- Go to MRM Retention tags and click on New tag to create one.
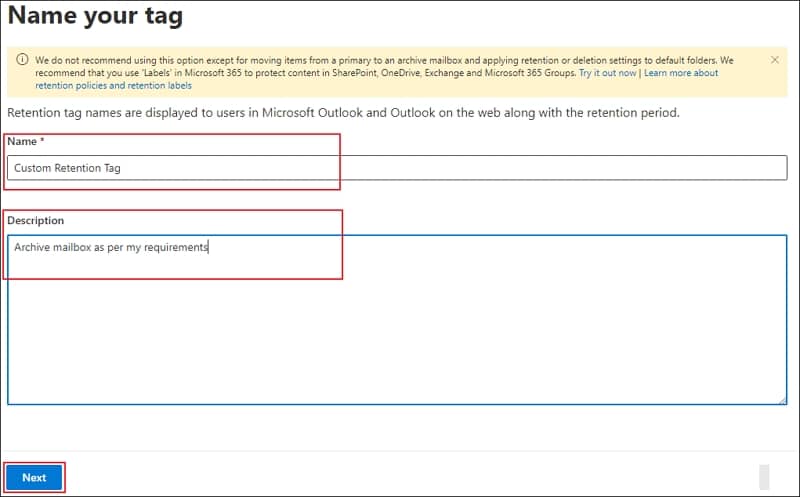
- Provide name and description for new tag, then tap Next.
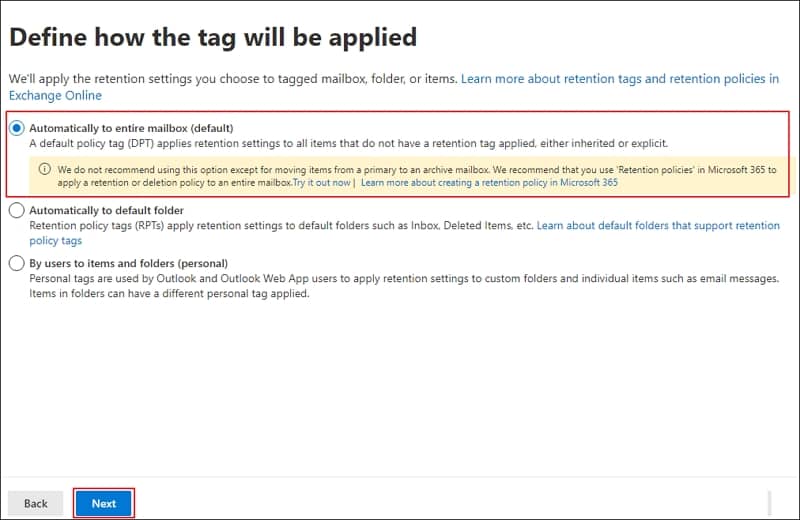
- Under Define how the tag will be applied section, choose Automatically to entire mailbox (default) option and click Next.
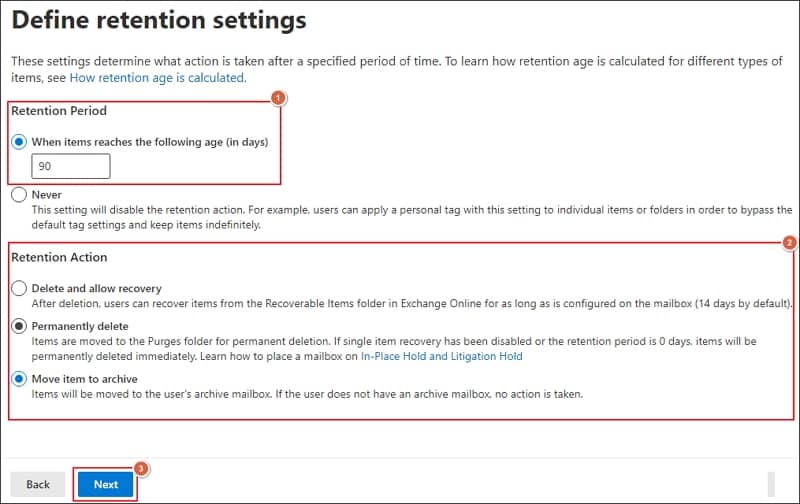
- Define Retention Period in days, then select Retention Action as Move item to archive, and proceed to Next.
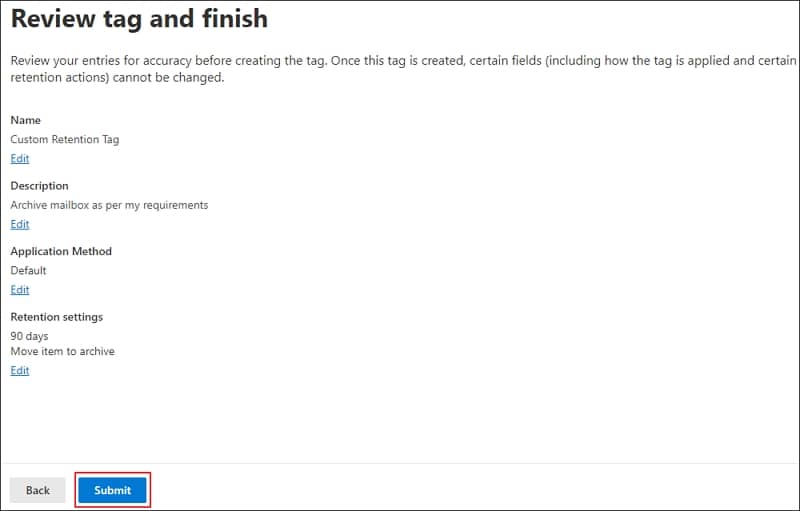
- Review tag details such as Name, Description, Application Method, & Retention settings, then click Submit.
- Once tag is created, click on Done option.
Creating Retention Policy
- Go to MRM Retention policies, then click on New policy.

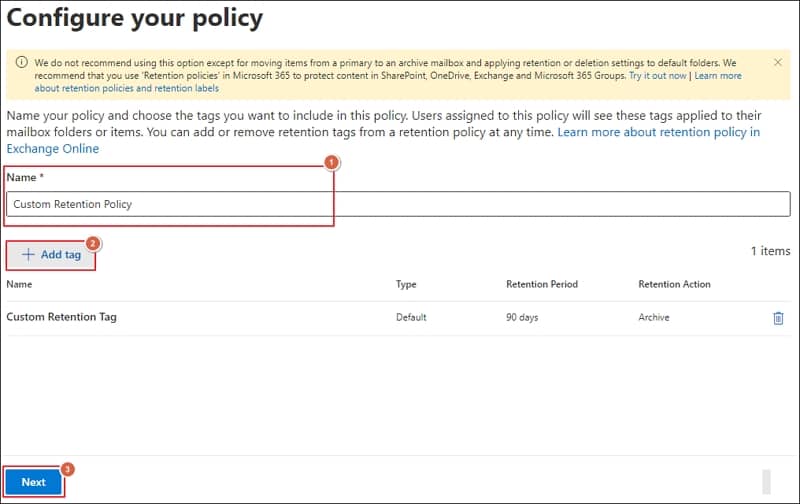
- Assign a Name to the Retention policy, select the created tag by clicking on Add tag option, and proceed to Next.
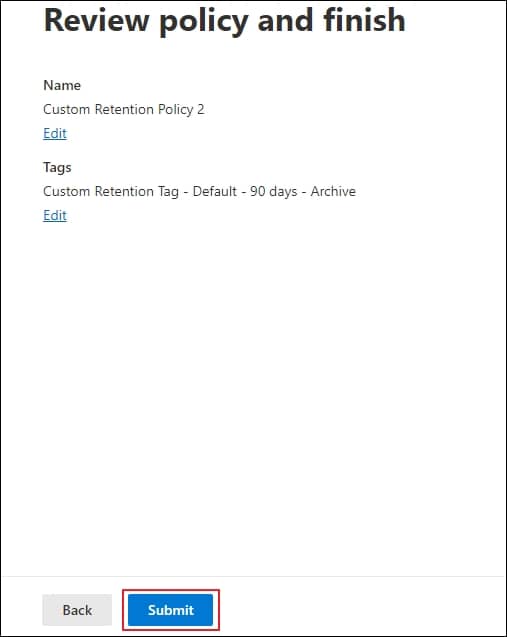
- Review policy details, including Name & Tags, then click on Submit.
- Tap on Done option when policy is created.
Part 3. Apply the newly created Retention policy to the mailbox
When the Retention policy is created, apply it to the archive mailboxes to set the archive process as you configured. To do so, follow the given steps carefully.
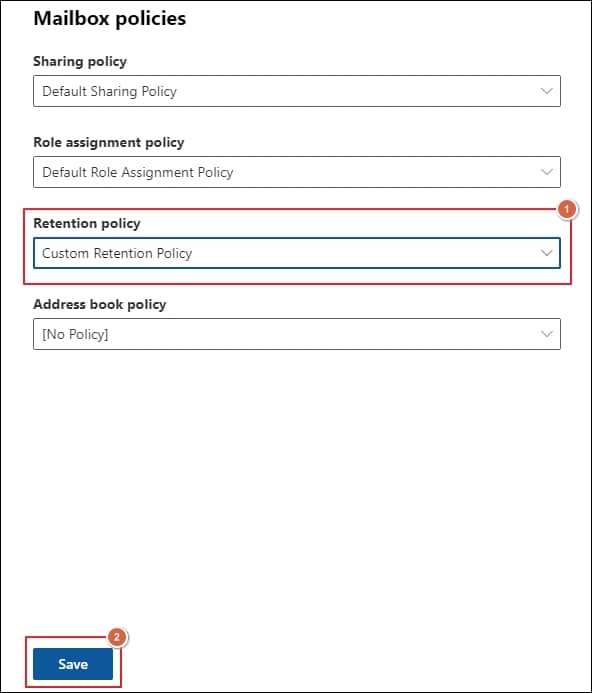
- Click on user mailbox, then go to the Mailbox tab and click on Manage mailbox policies.
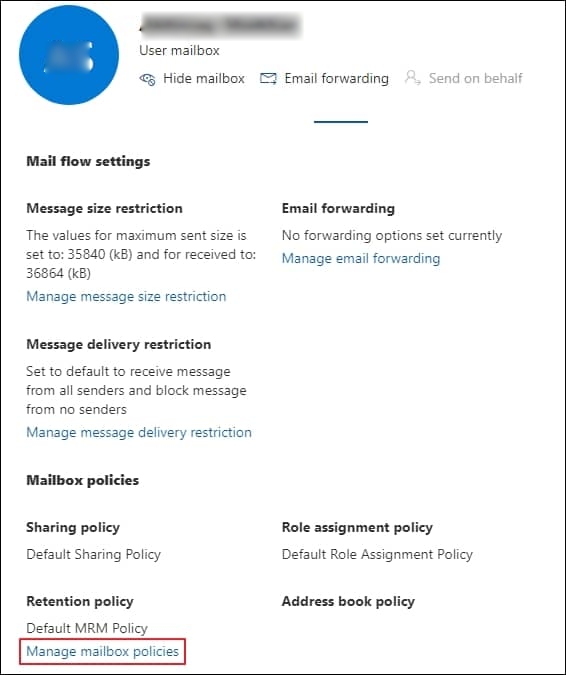
- Under the Retention policy box, select the created one using the drop-down list, then click on the Save option.
- You have successfully applied the newly created Retention policy to the user mailbox.
Where can I find and access archive mailbox folder in Office 365?
Once you have enabled the online archiving feature in Office 365, another question arises: where can you find and access that archived folder in the Office 365 account? To locate and access the archive folder in Office 365, go to the left pane and open Outlook 365. When it is opened, search for the created folder in it. Now, open that folder to access your archived Office 365 emails.
What is the best alternative to archive emails in Office 365?
Archiving Office 365 emails is a straightforward process using the above-mentioned solution. But this approach provides you with limited control over the archive process. To obtain complete control over the process and precisely archive your Office 365 mailboxes, you have to rely on alternative solutions.
One such alternate solution is Recoveryfix Backup for Microsoft 365 that allows you to back up your mailboxes at your convenience. The Microsoft 365 backup tool is capable of backing up all your Exchange Online components, including Primary mailboxes, Archive mailboxes, and Public folders, into multiple formats in just a few clicks. Additionally, this software can smoothly backup your Office 365 Groups and shared mailboxes.
Final thoughts
The blog has provided a comprehensive guide on “how to archive emails in Office 365.” By utilizing the above-mentioned approach, you can easily archive your emails. But the solution doesn’t allow you to take selective backups of Office 365 mailboxes. For this purpose, we have put forward automated software that helps you to backup Office 365 mailboxes with precision. Moreover, the recommended solution offers a trial version, allowing you to test its credibility.