Migrate Outlook emails to Office 365: A comprehensive tutorial

Updated On - September 19, 2024

Upgrading with the technological advancement & needs of the digital world prevents you from becoming obsolete. Similarly, users of desktop-based services move towards cloud-based technology due to its high-tech features. It reflects with Outlook, too, as Office 365 comes with versatile & robust features like enhanced security, easy collaboration, add-free emails & many more. This prompts users to migrate Outlook to Office 365 to increase their organization’s overall productivity or performance.
If you are looking for the same, then through this blog, we will help you find reliable or feasible solutions to execute the process successfully. Let’s delve into the discussion to know more about the methods & their corresponding steps.
How to migrate Outlook emails to Office 365?
Accessing the data from all the devices creates the need for the users to store them in the cloud. Hence, to accomplish the task, we have entitled two effective ways to help you migrate Outlook emails to Office 365. Let’s look at them.
Solution 1. Configuring the Office 365 account in the Outlook application
One of the basic approaches to execute the task is using Outlook’s Import/Export feature after configuring the Outlook account with the local account first and then with the Exchange account. Here, you can go through the following steps to fulfill the task:
Part 1. Export the file as PST from your local account using the Import/Export feature of the Outlook
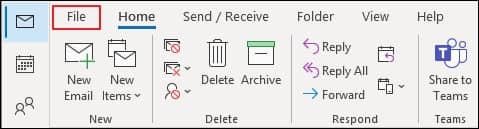
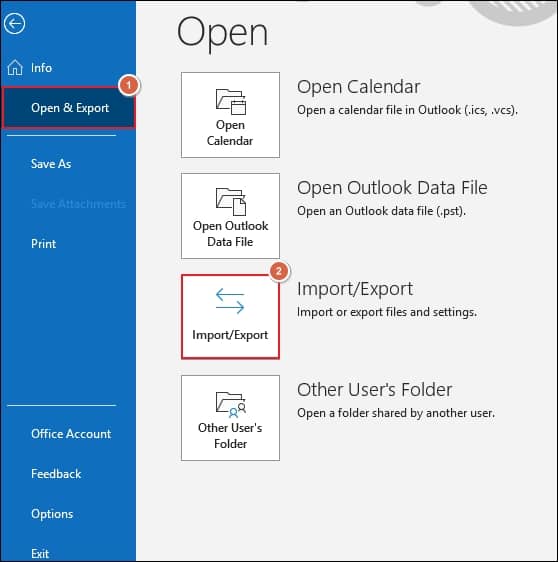
- Access the Outlook application & go to the File option.
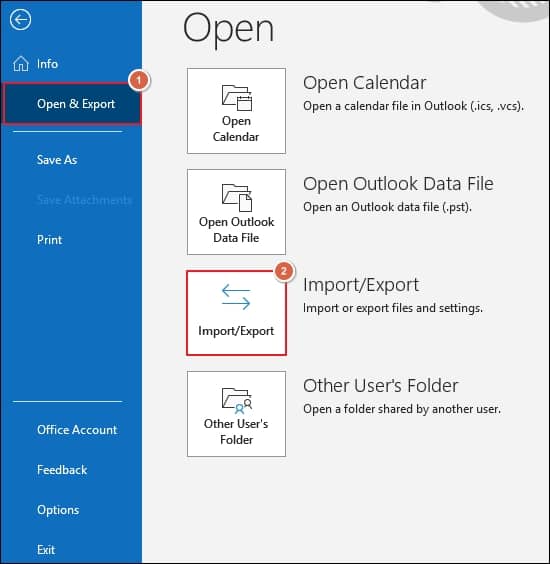
- Choose the Open & Export, followed by the Import/Export option.
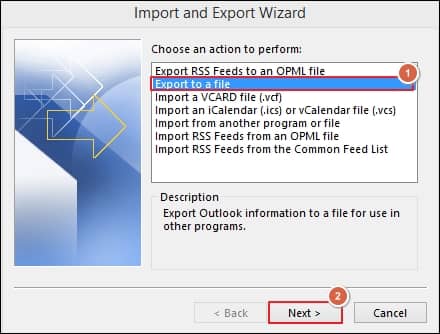
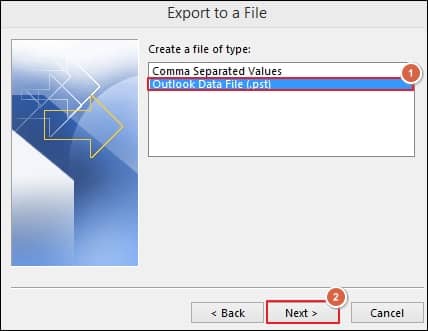
- In the next window, tap on the Export to a file option & click on the Next option.
- Under the Export to a file, choose the Outlook Data File(.pst) & click on the Next option.
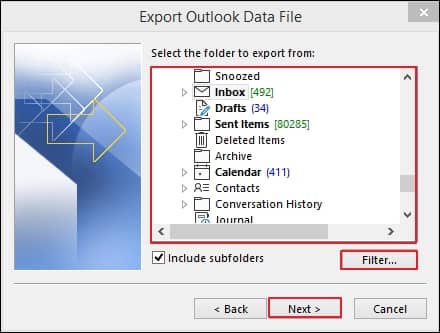
- Select the folder to export from along with the given filters & then hit on the Next option.
- After choosing the suitable options, Browse to the location to save the exported file, and then click the Finish option to initiate the exporting process.
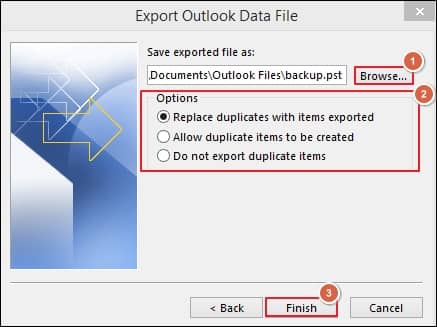
Note: You can provide the password for your exported file for enhanced security. However, providing the password is optional; you can execute the process without it.
Part 2. Import the PST file in the Outlook configured with the Office 365 account using the Import/Export feature of the Outlook
- Now, open the Outlook application again & access the File Option.
- Go to the Open & export> Import/Export option.
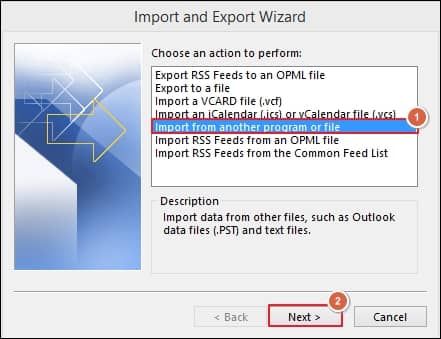
- Choose the Import from another program or file in the next window.
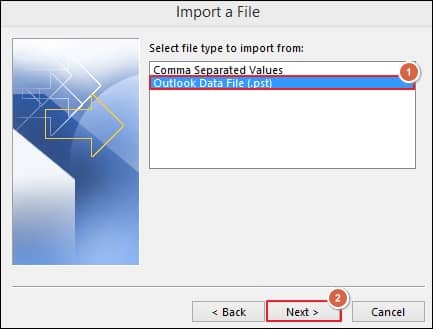
- Under Import a File, tap on the Outlook Data File(.pst) & click on the Next option.
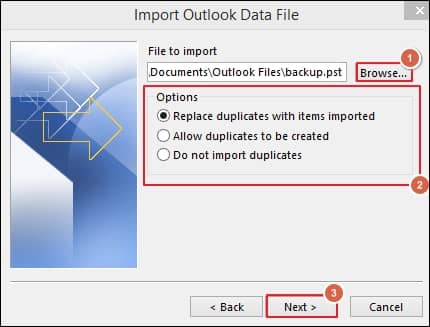
- Browse the file’s location from where you want to import and select the corresponding options. Then, tap on the Next option.
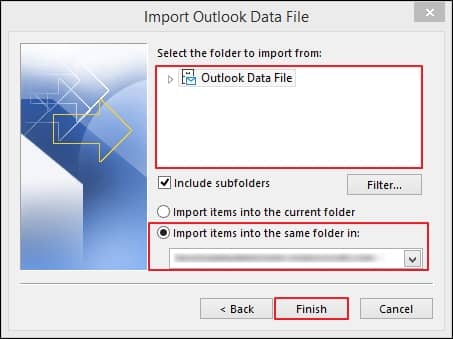
- Now, you can choose the folders or subfolders to import from along with the folder in which you want to import. Finally, tap on the Finish option to complete the process. This way, you can migrate Outlook to Office 365 successfully.
Solution 2. By importing the PST file in the Office 365 using Azure AzCopy
Along with the previous one, you can also use the Azure AzCopy tool to migrate Outlook emails to Office 365. To perform it successfully, export the file from your Outlook, which will be exported in the PST format. Then, you can use the Azure AzCopy tool to import the PST file. After exporting the file, follow the given steps to use the Azure AzCopy to complete the migration process:
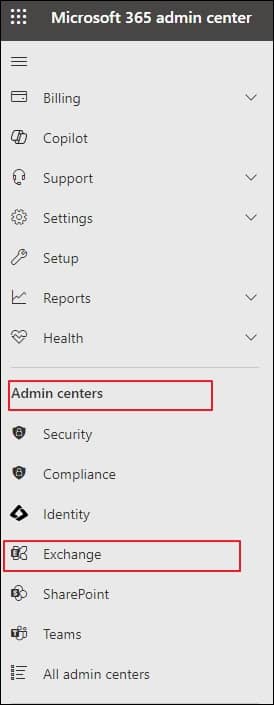
- Login to Office 365 through the administrator credentials.
- Select admin & go to the Exchange section.
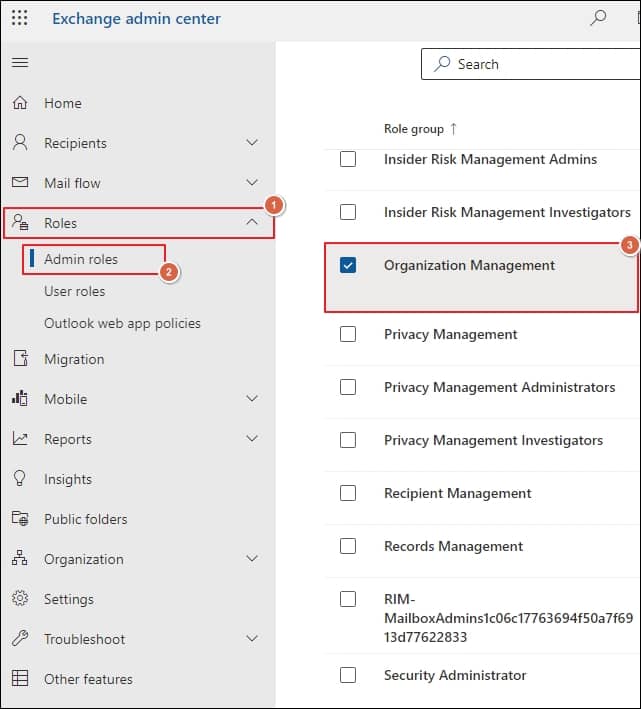
- Click on the Roles> Admin roles > Organization Management option.
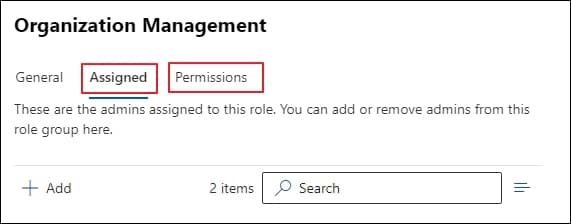
- In the next window, select the users for Permissions & Assigned Admin name as per your convenience.
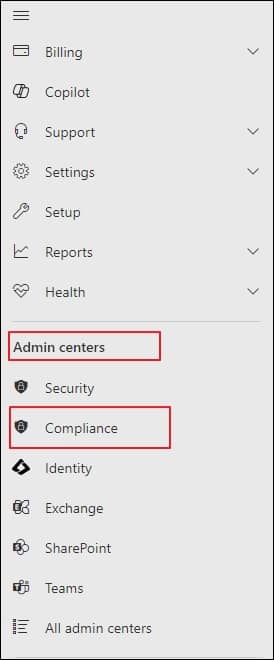
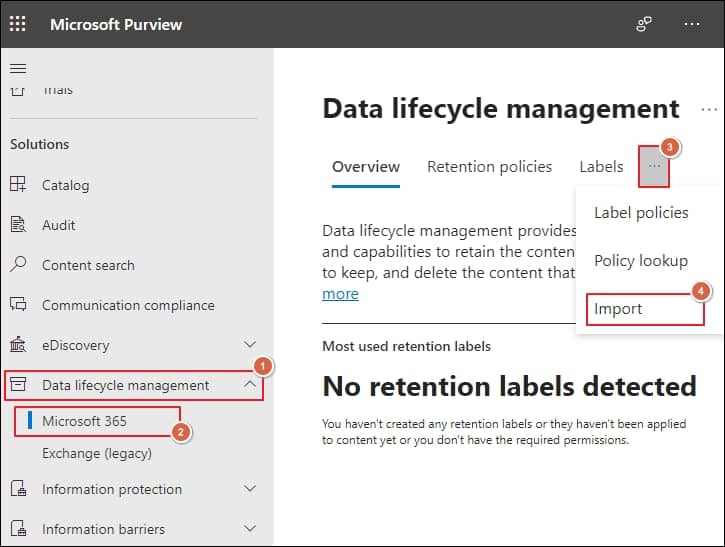
- Now, tap on the Microsoft 365 admin center again & click on the Compliance option.
- Choose the Data lifecycle management, tap on Microsoft 365 & click on the Import option.
- In the next section, tap on the + New import job option & follow the given hierarchy of options one by one.
- Enter the PST import Job as per the criteria, followed by clicking the Next option.
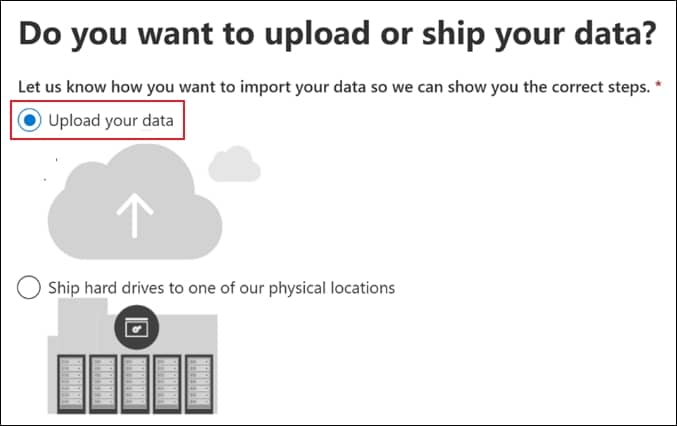
- On the next page, tap on Upload your data & then click on the Next option.<
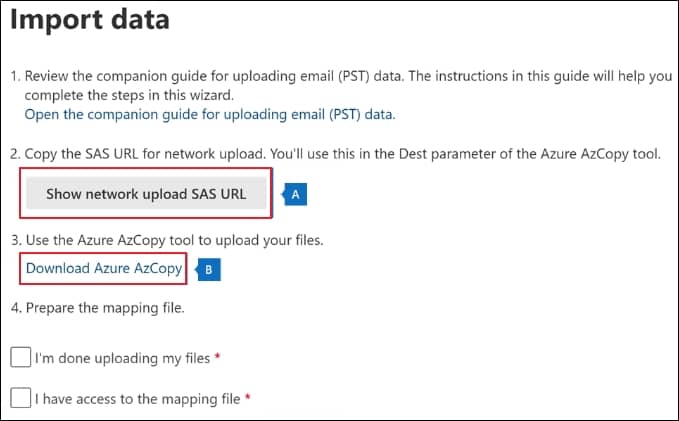
- Now, under the Import data window, in the Copy the SAS URL for network upload section, click on the Show network upload SAS URL. Then, in the Use the Azure AzCopy tool to upload your files section, tap on the Download Azure AzCopy to download the AzCopy tool in your local system.
- Now, to upload the PST files into Office 365, access the Command Prompt & reach out to the directory where you have downloaded the azcopy.exe file. Then, run the following command to upload the PST files to Office 365:
azcopy.exe copy “<Source location of PST files>” “<SAS URL>”
- It will save your organization’s PST file to the Azure Storage location.
- After uploading the PST file, you have to create the PST Import mapping file in a comma-separated value (CSV) file which indicates the users’ mailboxes that you want to import. When you create a PST Import job, you will submit the CSV file in the next step.
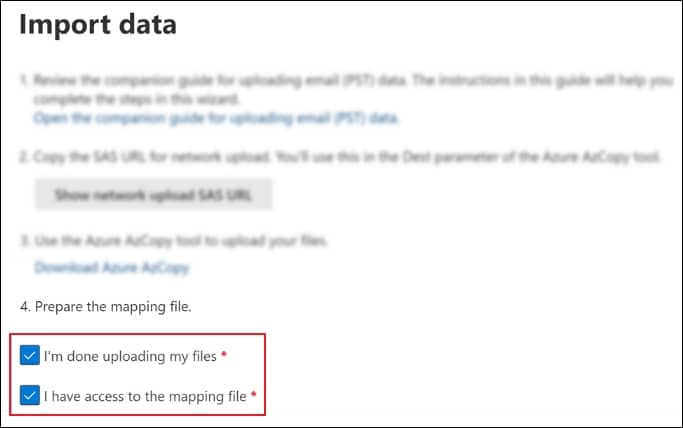
- Now, in the Preparing the mapping file section under Import data page, check the I’m done uploading my files & I have access to the mapping file option.
- In the Select the mapping file page, choose the mapping file name you created in CSV format. Then, Validate the same CSV file for errors.

- After validating the CSV file, click on the checkbox after reading the terms & conditions document.
- Now, tap on the Save option to submit the job & click on the Close option after job is successfully executed.
- Then, tap on the Refresh option to update the status till it changes to Analysis completed.
- In the Import section of the compliance portal, choose the created import jobs and tap on the Import to Microsoft 365 option. This will display the Filter your data page, where you can filter the data according to your requirements for importing.
- Finally, after choosing the desired filter, click on the Import data to initiate the import job.
- It will complete your import process in the Office 365 application.
Is there an alternative option to make the process quick or direct?
You can reach your destination through the manual process. However, it won’t guarantee 100% successful results and makes your mailbox data vulnerable to loss. Hence, choosing the automated Import PST to Office 365 tool as an alternate option will prevent you from experiencing several unusual mishaps and give you instant output.
Recoveryfix PST to Office 365 is one reliable or most preferred tool from experts in this category. Its advanced or robust algorithms allow you to import healthy PST and OST files of any size and number directly into Office 365. Its adaptive or versatile filters, like incremental PST file migration, make the migration structured or duplicity-free. You can also use the facility to migrate the data to Office 365 groups.
Conclusion
Users look to migrate Outlook to Office 365 like Gmail to Microsoft 365 to enhance the organizations’ overall productivity. To accomplish this task, we have provided a detailed methodology. However, opting for the recommended automated software can avoid ambiguity or get quicker results. For hands-on experience, you can explore its free trial version.