Step by step process to migrate IMAP to Exchange Server

Updated On - July 31, 2024

IMAP (Internet Message Access Protocol) helps users manage their messages into folders, pop-up messages for urgency or follow-up, and save draft messages on the server. It also allows users to access their emails from multiple devices worldwide. IMAP provides its users with several facilities for efficient email communication, but some uncertainties, like not supporting calendars and contacts or security concerns, make it unsuitable for large-scale use.
On the other hand, Microsoft Exchange Server is Microsoft’s email, calendaring, scheduling, contact, and collaboration platform. Its robust security and advanced control features make it a powerful tool for enhancing business productivity. These features are a key reason why many users choose to migrate from IMAP to Exchange Server. Let’s explore how to execute this migration process efficiently.
Why do users look to migrate from IMAP to Exchange Server?
Out of the many possible reasons, following are the significant ones that motivates users to do migration from IMAP to Exchange Server:
- Syncs tasks, contacts, and calendars with associates & also helps to view them from any device.
- Provides reliable email-based communication with customized settings.
- Allows you to access your email even with an unstable internet connection.
- Boosts overall efficiency & performance within the organization.
Manual way to perform migration from IMAP to Exchange Server
After thorough research, we have provided you with the best possible solution to use the IMAP-configured mailbox items in the Exchange Server. But before going through the steps, the following prerequisites are required:
- You should have administrative access to both the IMAP Server & Exchange Server.
- To execute the process, you need an email client like Microsoft Outlook that supports both IMAP & Exchange.
Now, follow the below steps carefully to get the desired output:
Part 1: Export mailboxes from IMAP Server
To accomplish this task, you must configure the email client with the IMAP account & then follow the given steps to export the mailbox items in the PST format:
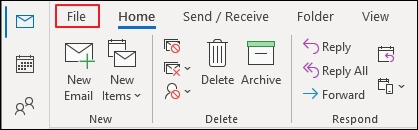
- Launch the Outlook application & go to the File option.
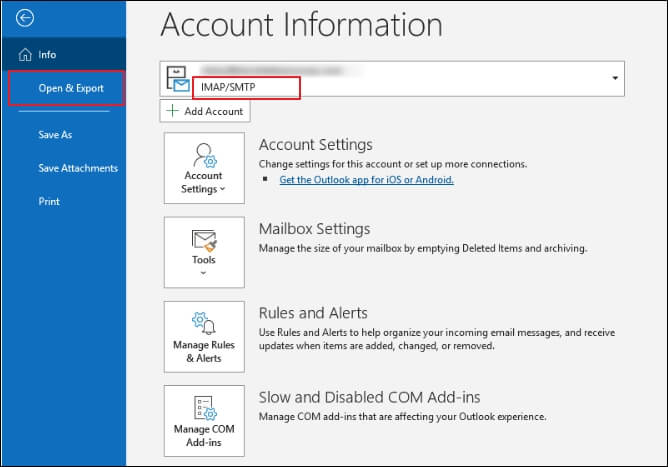
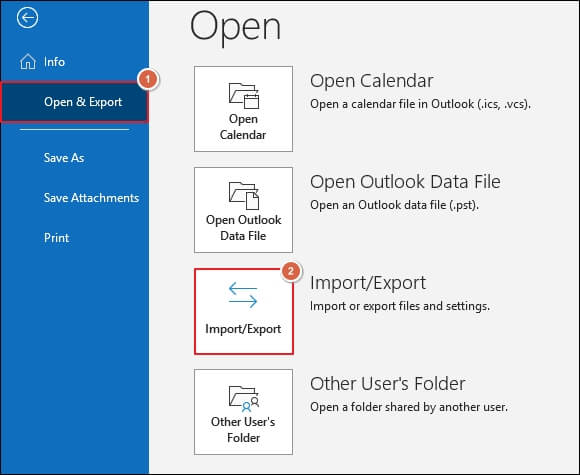
- Tap on the Open & Export option.
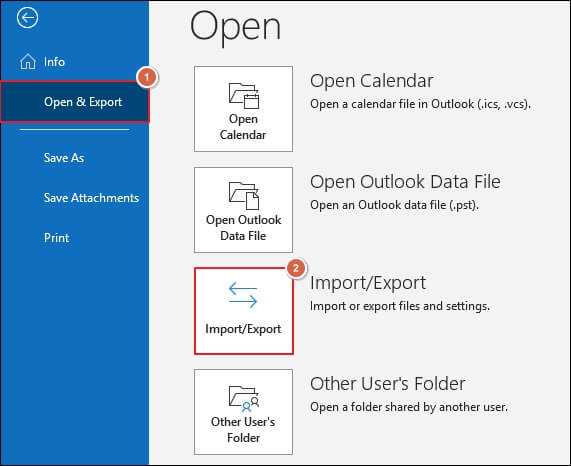
- Click on the Import/Export option.
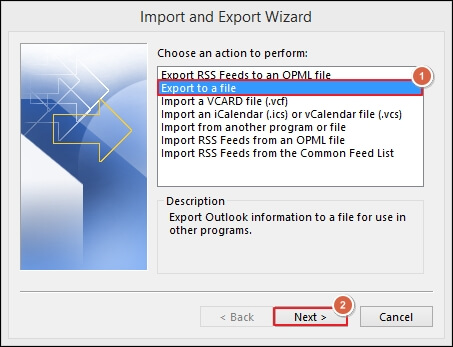
- In the next window, click on the Export to a file option & tap on the Next option.
- In the Export to a file section, select Outlook data file(.pst) option followed by the Next option.
- Select desired folders that you want to export along with appropriate filters & click on the Next option.
- Now, Browse the location where you want to export the file along with the options accordingly to manage the file & click on the Finish option.


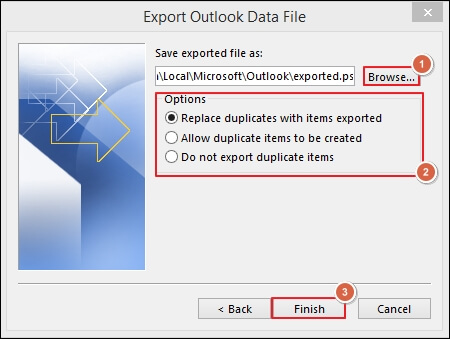
Note: You can also provide a password to your exported PST file for additional security.
Part 2: Import the exported PST file in the Outlook configured with Exchange account
After going through the above steps, remove the IMAP account & configure the same client with the Exchange one. Now, perform the below steps to initiate the import process:
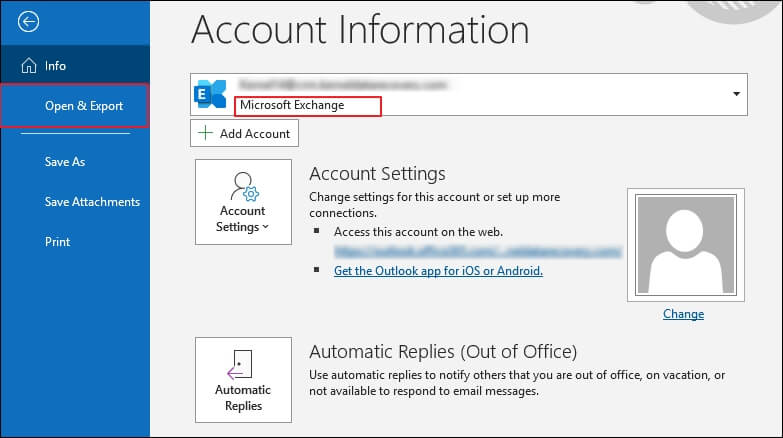
- Open the Outlook application & go to the File tab.
- Tap on the Open & Export option.
- Now, click on the Import/Export option.
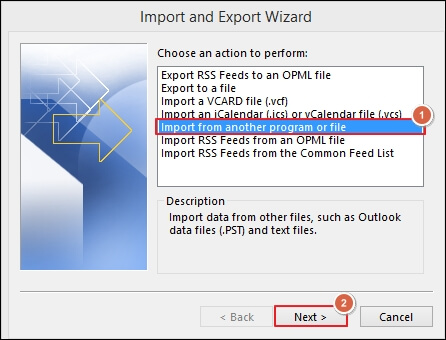
- Choose the Import from another program or file & then click on the Next option.
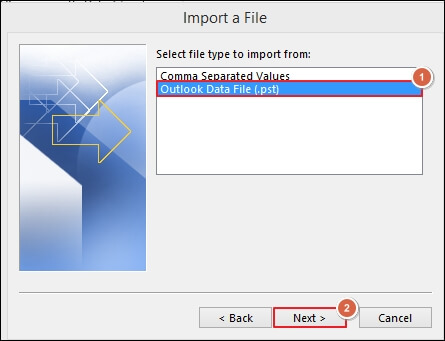
- Select Outlook data file (.pst) from the Import a file window & then, click on the Next option.
- Browse the location where you want to save the file & corresponding solutions accordingly & click on the Next option.
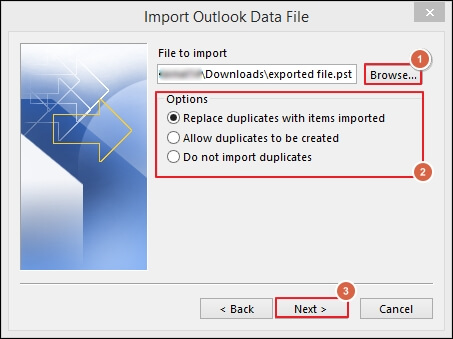
Note: Here, you must enter the same password that you had created during the export process to import the PST file.
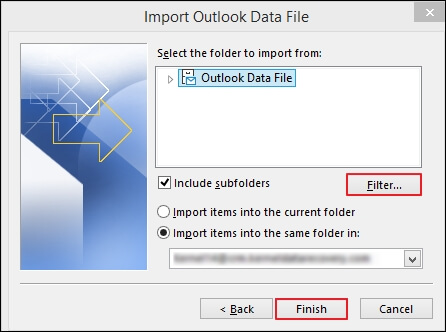
- Finally, Select the folder to import from, choose the Exchange account to import items & tap on the Finish option to execute the import process.
Now, you can use the IMAP configured mailboxes in the Exchange account successfully.
What are the limitations occurring while performing migration?
The manual method can deliver favorable results, but it has certain limitations. For example, it can’t assist in the migration of contacts, calendar items, and tasks. It also imposes restrictions on a number of items and their sizes during migration. To address these limitations, professionals and organizations often opt for automated tools. These tools not only enhance productivity but also save time during the migration process, making them a necessary solution.
Recoveryfix Migration for IMAP is one such tool that stands out among professionals with their advanced & robust features. It provides a secure platform for the instant migration of several mailboxes from one IMAP account to another IMAP account. Its user-friendly interface & filters like incremental migration, data filters and many more helps the user to get relief from all the IMAP related concerns.
Conclusion
Migration of mailboxes from IMAP to Exchange Server can be performed by following the steps mentioned above. But, due to some shortcomings of the method, it will not give you the complete migration output. So, to be on the safer side, opting for the recommended automated approach can be beneficial to make the process easy & timesaving. You can also check out its trial version to explore its credibility & seek maximum migration benefits.